Tag Archives: recipes

Lasagna Stuffed Zucchini Boats

1 Oct

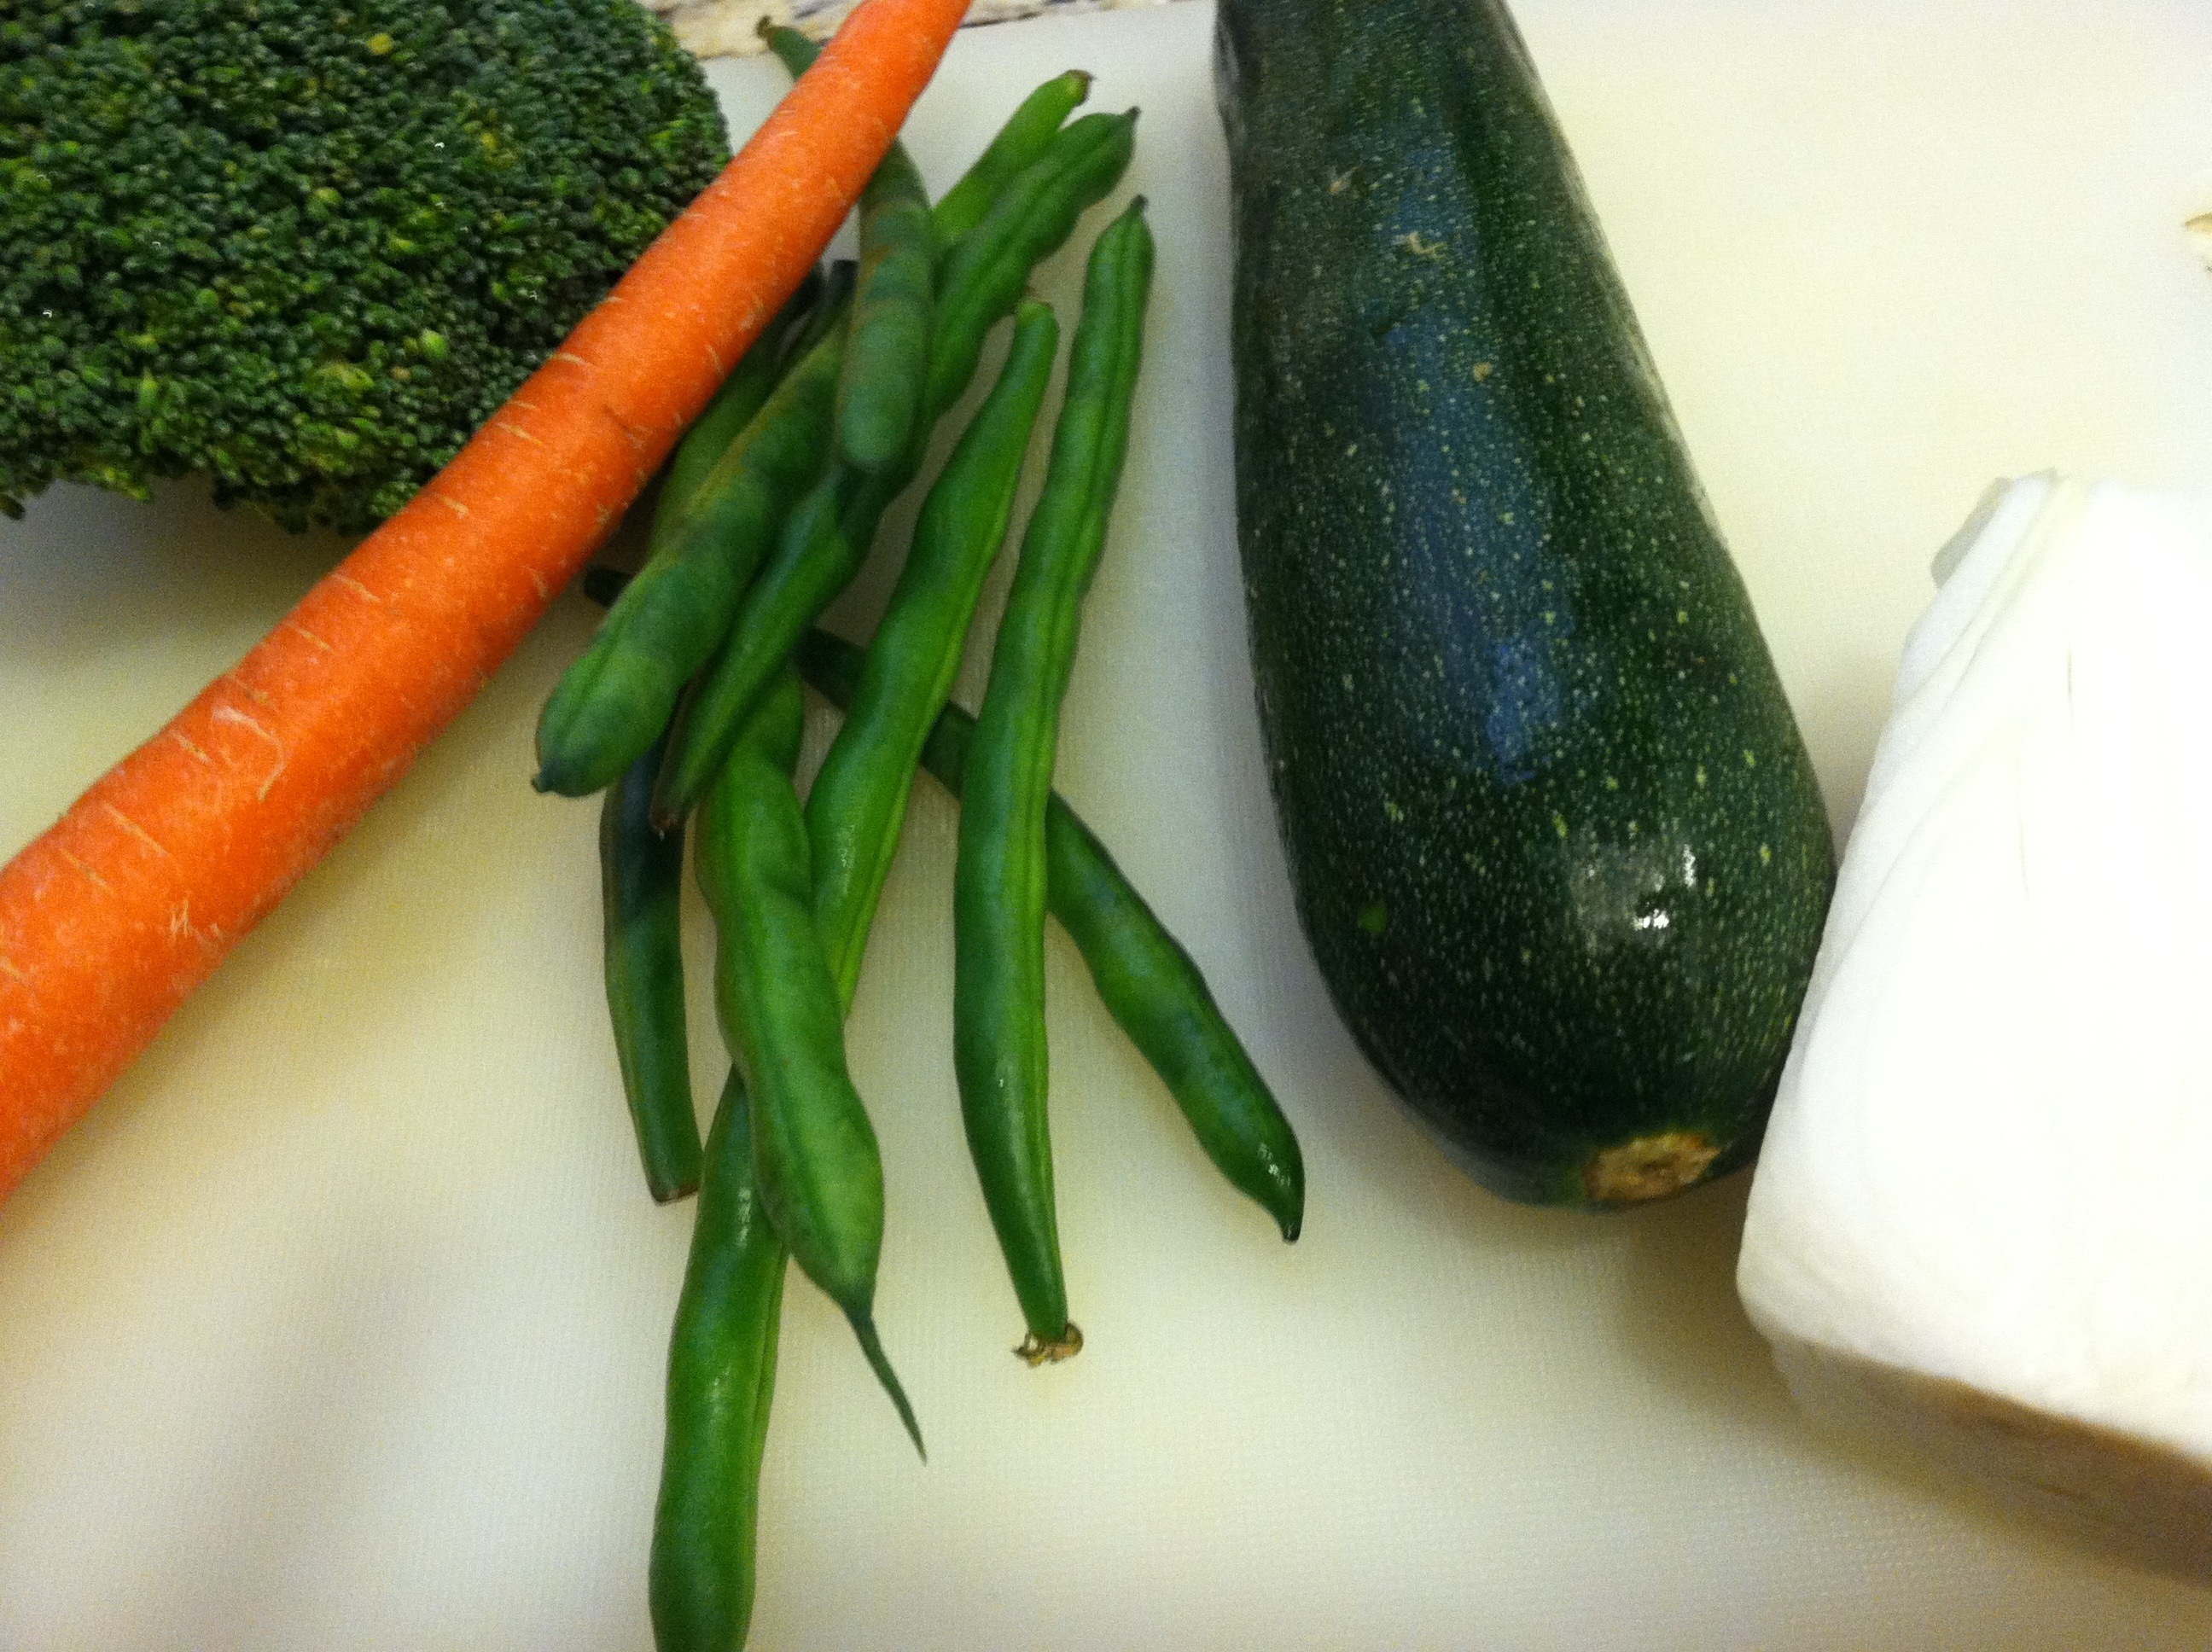
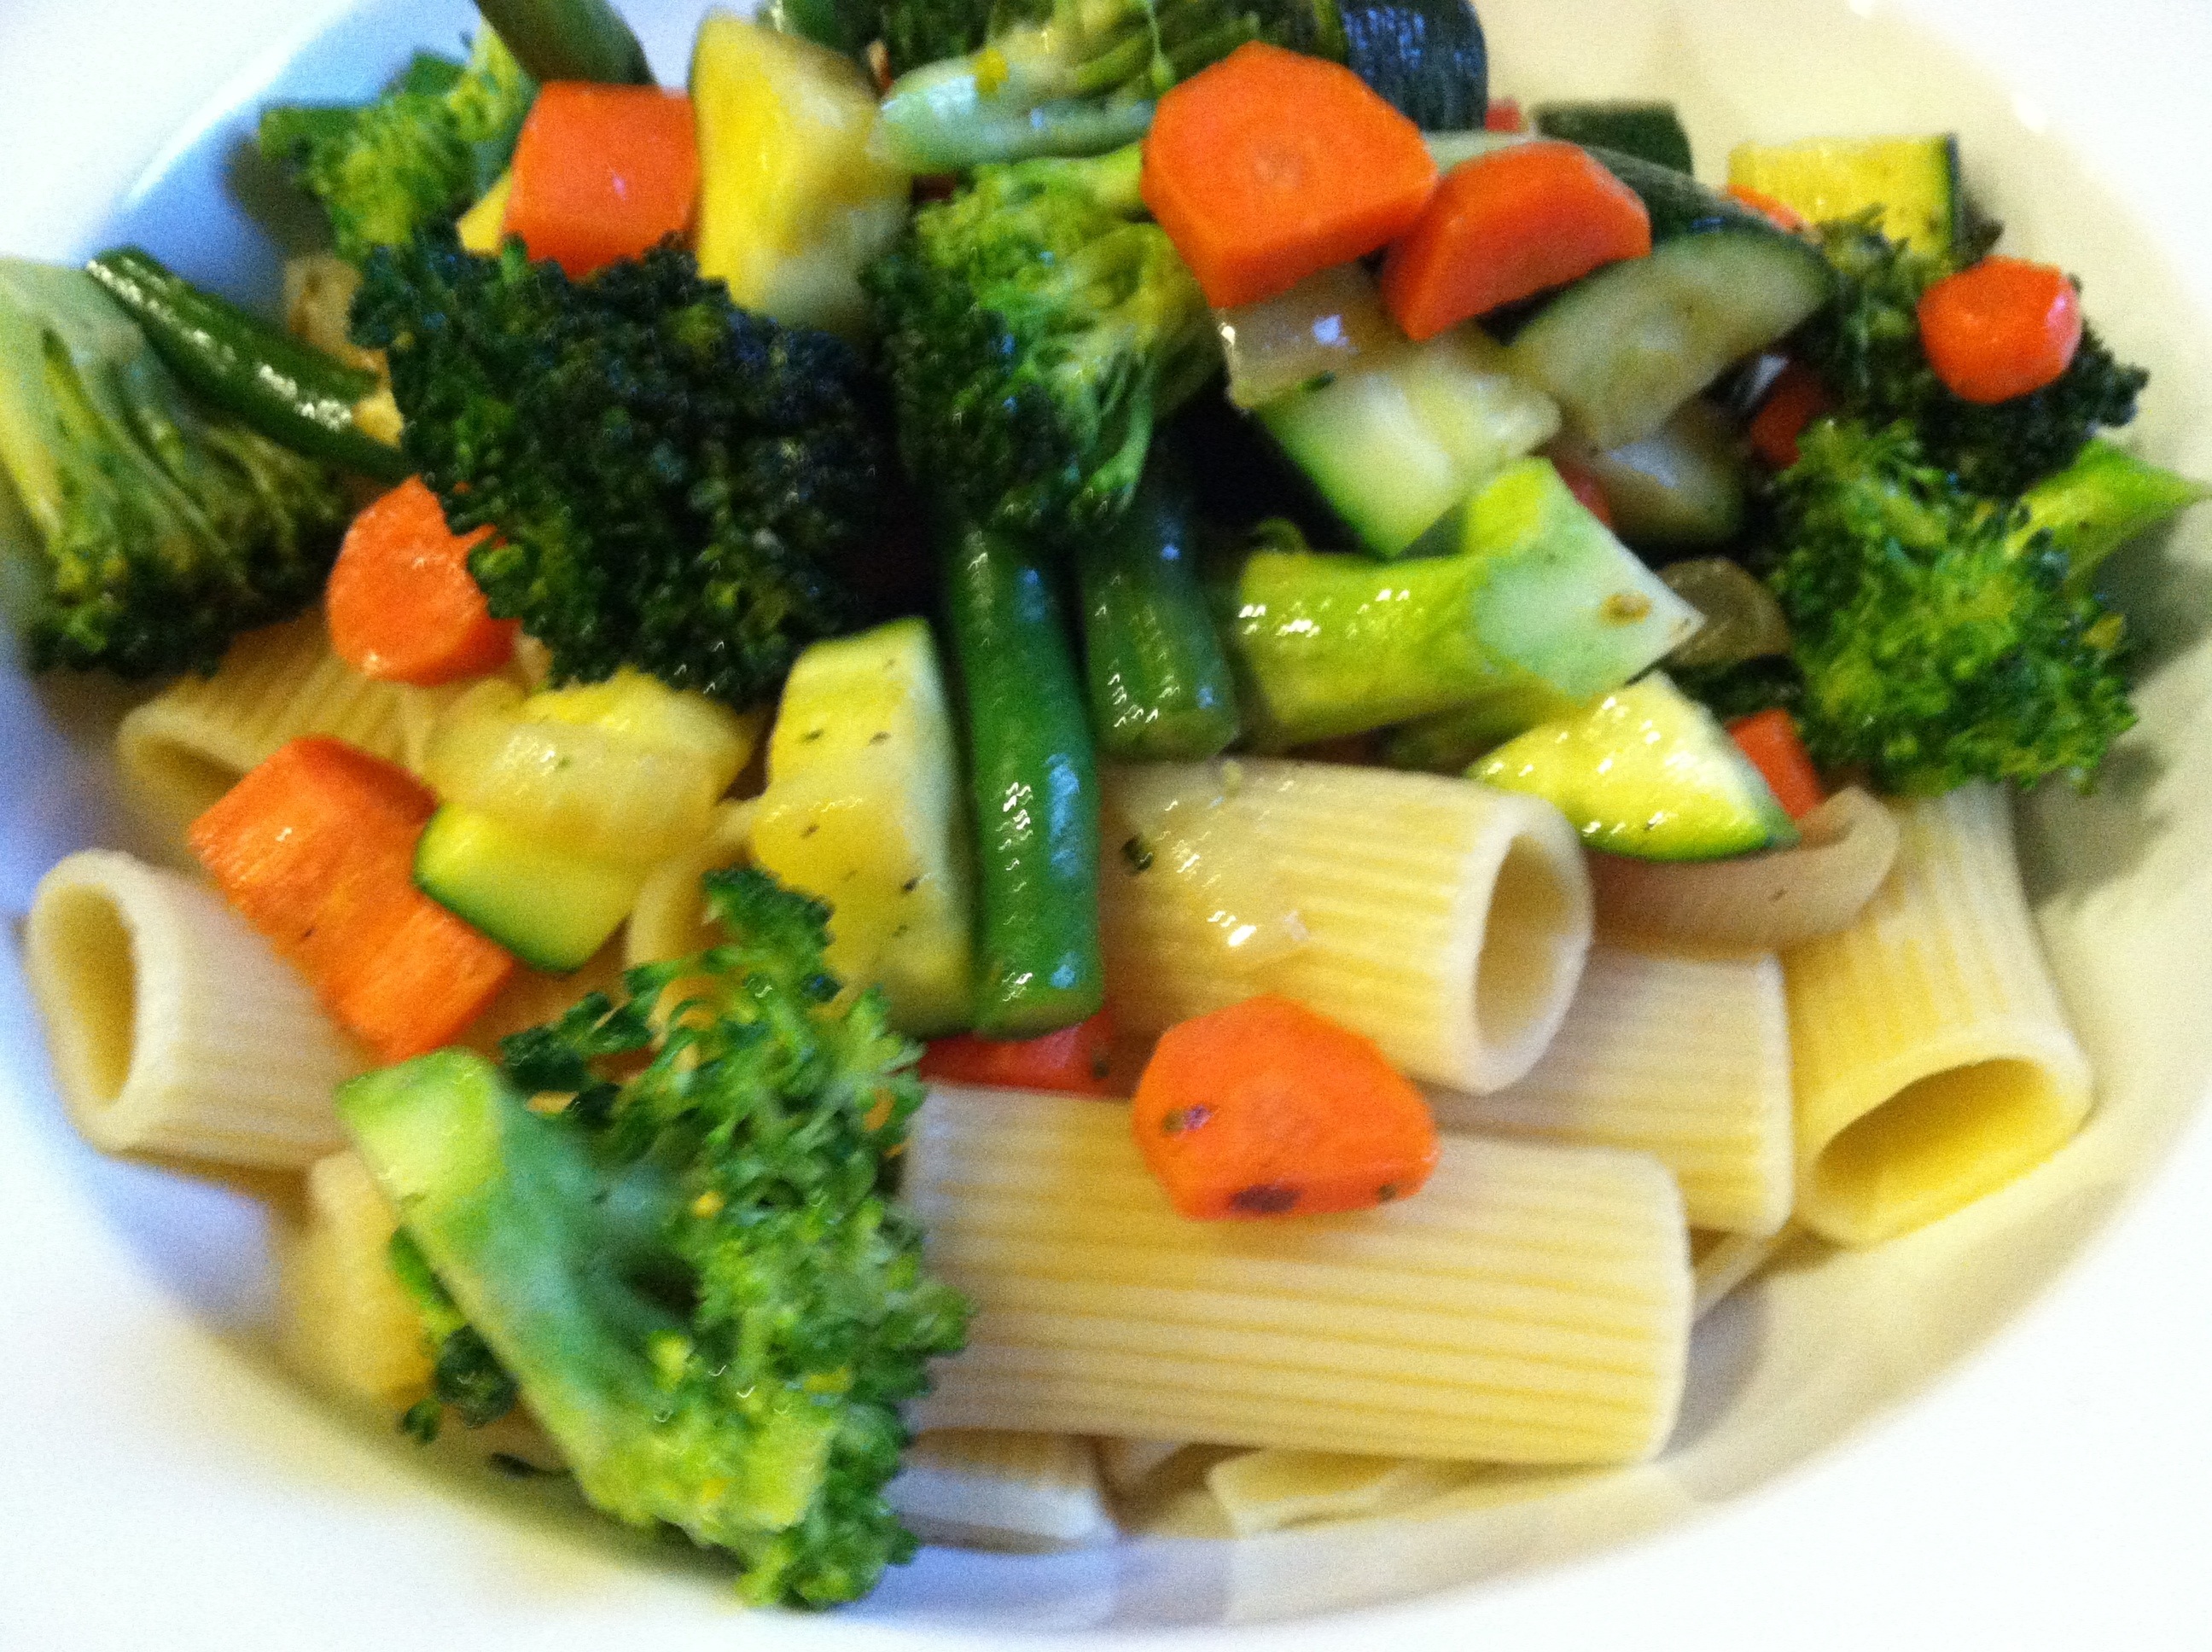
I learned today that it is Vegetarian Awareness Month, so it felt fitting that I make a vegetarian meal for dinner. Not to mention the calorie laden meal I prepared yesterday that I needed to counteract. I do what I can to try and balance out my meals, even if it’s from one day to another by having light soup or salad or vegetarian meals if I am going to be having heavy carb-filled meals during the day or week.
I have made different kinds stuffed zucchini boats and each time they are light yet filling and mighty delicious. I got the idea for the lasagna stuffed zucchini boats from recipes I’ve seen where you replace lasagna pasta with zucchini slices, I felt like this captured that spirit but was less messy and quicker to make.

Lasagna Stuffed Zucchini Boats
Servings: 4
4 large zucchinis
3/4 cup ricotta
1/4 teaspoon kosher salt
1/4 teaspoon ground black pepper
1 clove garlic, crushed
1 egg
1-1.5 cups tomato based pasta sauce (I used my ‘everything’ veggie pasta sauce)
1 cup shredded mozzarella

20131001-205949.jpg
Directions:
Preheat oven to 400 degrees.
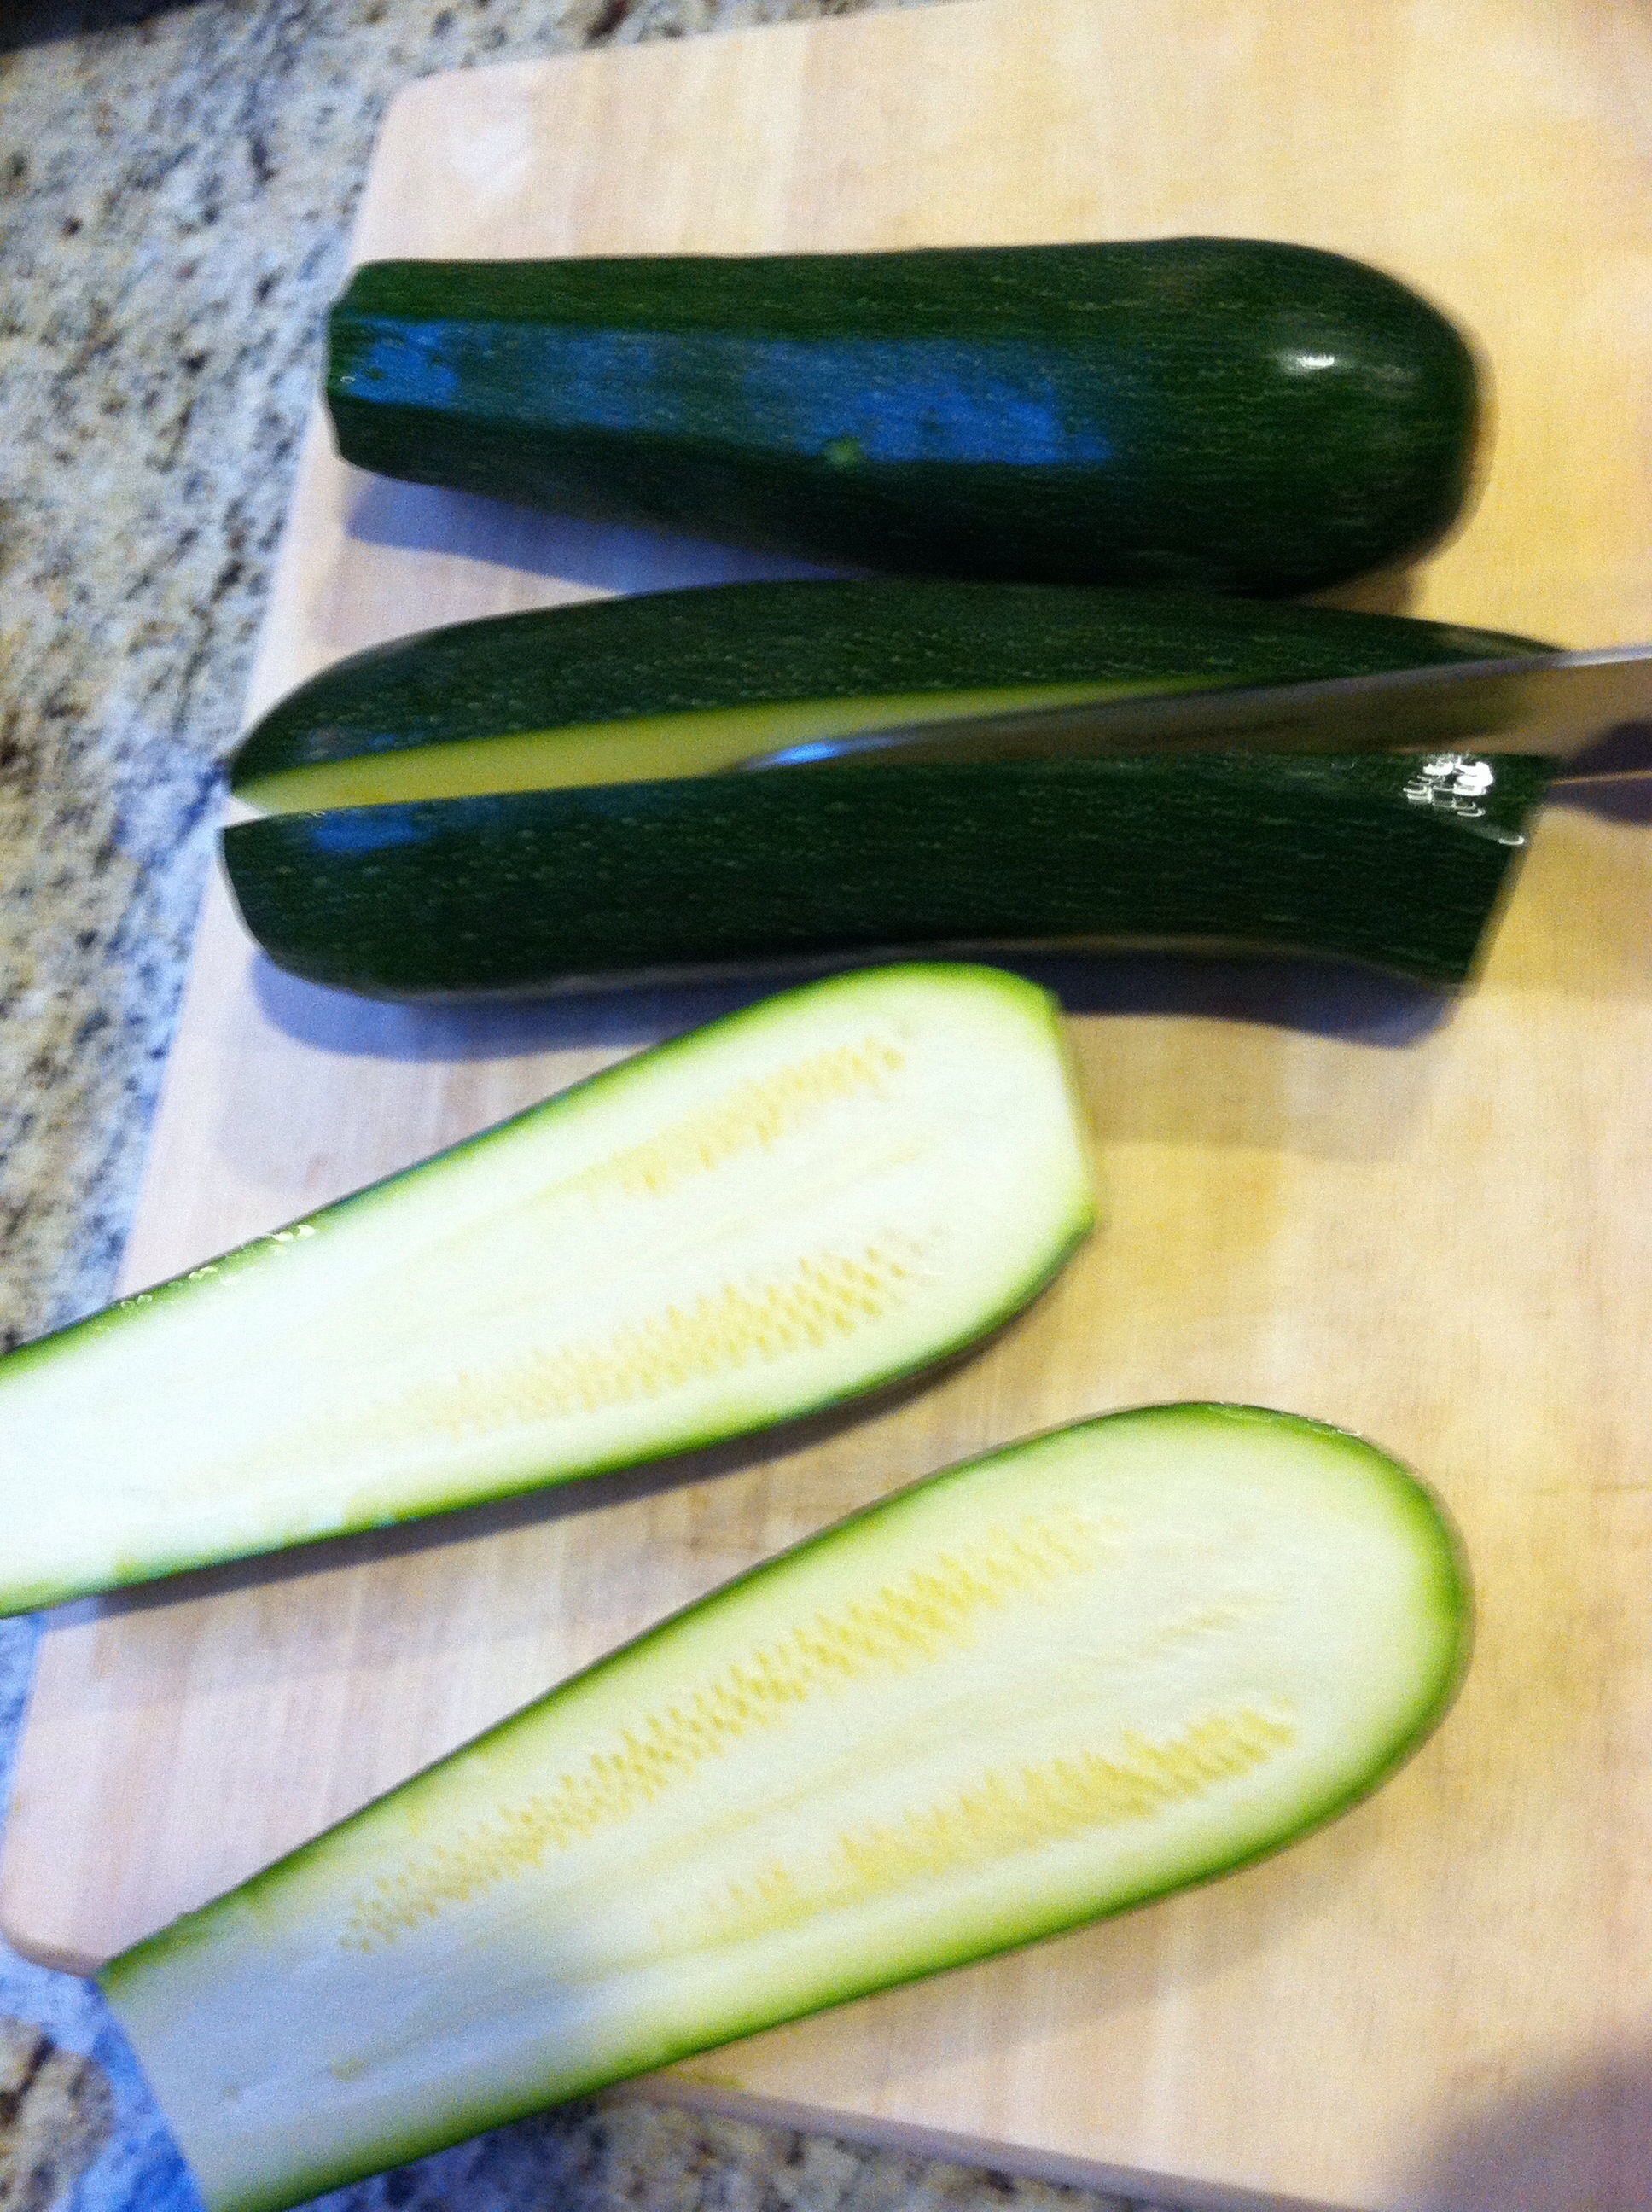
Slice ends off washed zucchini, cut zucchini in half lengthwise. Carefully scrape out insides of zucchini but leave enough of a wall to keep stuffing inside (see picture below). Place zucchini in a baking dish. In a medium bowl mix ricotta, egg, salt, pepper, and garlic until well blended. Spread ricotta mixture in boats then cover with tomato sauce, cover baking dish with foil. Bake for 20 minutes, then cover boats with mozzarella, recover, and bake for another 15 minutes. Allow to cool for about 5 minutes before serving.

20131001-211420.jpg

20131001-211443.jpg

20131001-211509.jpg

20131001-211541.jpg

20131001-211621.jpg

I decided to serve mine with roasted Brussels sprouts which were a great side dish for this, but you could use orzo, pasta, garlic bread, etc.

20131002-103545.jpg
This meal had a great Italian flare but less calories than a traditional lasagna. There are so many great recipes that you can use out there for stuffed zucchini boats that incorporate all kinds of flavors and can give you your own ideas of how to make your own creation – like I did with this one!

Savory Braised Beef Short Ribs

23 Sep

It’s been an interesting day… we’ll leave it at that. Interesting days require something extra ordinary for dinner, again what I call- cooking therapy. Tonight it’s braising therapy… I’m willing to wait a little longer to eat tonight if it means delicious braised beef short ribs, and I bet you would too!

Savory Braised Beef Short Ribs
Braised short ribs
1/4 cup all purpose flour
Kosher salt n ground black pepper
1.5-2 lb short ribs, boneless
1 tablespoon olive oil
5 carrots, peeled cut into large chunks
1 onion cut into large chunks
3 stalks celery cut into large chunks
2 cups beef broth
3/4 cup soy sauce
2 tablespoons Worcestershire sauce
1/2 cup red wine (I used merlot)
2 cloves garlic crushed
1 cup V8 juice
1 bay leaf
1 pinch crushed red pepper

20130923-193158.jpg
Directions:
Preheat oven to 400 degrees.
Heat large pan over medium heat and add 1 tablespoon olive oil. In a medium bowl combine flour with salt and pepper and toss short ribs to coat, shake to dust off excess flour. Transfer ribs to the pan to brown on all sides (about 5 minutes).

20130923-193343.jpg

20130923-193356.jpg

20130923-193415.jpg
Layer vegetable on bottom of a large heavy bottom pot/Dutch oven, arrange browned short ribs. Add remaining ingredients and an extra couple dashes of ground black pepper and salt.

20130923-193510.jpg

20130923-193522.jpg

20130923-193533.jpg

20130923-193556.jpg

20130923-193610.jpg
Cover and transfer to oven, cook for 1 hour and then reduce heat to 365 and cook until fork tender for about another hour and a half to two hours.

20130923-193819.jpg
Once out of the oven remove meat and vegetables from liquid and place on a platter, reduce liquid over medium high heat for approximately 10 minutes (may need to add some gravy flour to help thicken). Serve gravy over meat and vegetables. I served mine with buttered egg noodles.

20130923-210301.jpg

20130923-210320.jpg
I am in love with this recipe, I could seriously drink this sauce, it’s that good! I think it’s going on my list of favorites.

My braising adventure also left me with plenty of time to browse my old holiday magazines.

20130923-210657.jpg

20130923-210717.jpg
And… since it’s been an ‘interesting day’ I finished it off with sharing a happy little chocolate bundt cake from Corner Bakery with my hubby. Corner Bakery is currently participating in No Kid Hungry‘s fundraising campaign too, so double points for them!

20130923-211003.jpg

Summer Chicken & Veggie Pasta

23 Sep

I have been trying to be better about buying more ingredients and scratch cooking more days a week then eating out- a very bad habit that my husband and I used to fall into regularly in our last home. We lived around a lot more restaurants and there was this magical app called Grub Hub which we could order food from restaurants via our phones, it became too convenient. When we moved I had a bigger kitchen, more time (due to a commute cut in half), and less access to not only restaurants that deliver- but also just the plethora of options for dining out. So when I go to the grocery store and have load up my cart with more vegetables and fresh foods than packaged items I feel pretty good.

What I do need to get better at doing is going through my pantry and fridge, making a list of those things I need, AND planning meals for the week before heading to the grocery store. I got one request from my husband while we were in the store and that was my Summer Chicken and Veggie Pasta. This is an easy pasta that can be made quickly and ingredients can be interchanged easily for whatever you like. I used chicken breast that my husband grills with broccoli, carrots, onion, zucchini, green beans, and peas (which I forgot to add). I typically marinate my chicken breast with Italian dressing for about 20-30 minutes before grilling it, however I ran out of dressing so I made a simple mix of 2 tablespoons olive oil, 1 tablespoon balsamic, dash of salt, dash of pepper, 1 crushed clove of garlic which I placed in a Tupperware with chicken and the lid on and shook to combine. The marinating helps to add subtle flavor to the chicken and makes it very tender and juicy. I let the chicken breast rest for about 5 minutes before slicing it for the pasta.

Summer Chicken & Veggie Pasta: serving size 2

Ingredients:
1 grilled marinated chicken breast sliced
1 tablespoon olive oil
1 small head broccoli trimmed up and chopped
2 carrots peeled and chopped
1 zucchini quartered and chopped
1/2 yellow onion chopped
handful of green beans trimmed
1 clove garlic crushed
2 tablespoons butter
1/4 cup white wine
Kosher salt
Ground black pepper
Pinch crushed red pepper
2 servings cooked pasta (rotini, penne, rigatoni, etc)

Directions:
Heat a medium to large pan to medium heat and add olive oil till warmed, add the broccoli, carrots, onions, and green beans to the pan, saute for about 5 minutes over medium heat (reduce if onions begin to brown). Add salt, black and crushed red pepper. Add garlic and zucchini and saute until tender. When pasta is finishing up add wine and butter to the vegetables and heat through. Once pasta is drained drizzle lightly with olive oil (about 1 tablespoon). Serve vegetables over pasta and add the sliced chicken to the top.

If using frozen peas add approximately 4-5 minutes before the end of cooking so they are heated through.

20130923-094545.jpg

20130923-094557.jpg

20130923-094610.jpg

20130923-094621.jpg
This is a great light dish if you are looking for something with a nice fresh taste with simple ingredients and especially if you don’t have much time. It’s one my of my husband’s favorite dinners.

Comfort Food- Roasted Chicken and Nana’s Stuffing

12 Sep

During my kitchen therapy weekend, I needed comfort and found it in the form of baking and cooking nutritious and delicious food for me and my family, reading a good book, and snuggling on the couch with my kitty mama (the sassy lady herself- miss Colbie).

IMG_2991

If someone were to ask me what I think the ultimate comfort food is I would probably say 9 times of of 10, roasted chicken. Add my Nana’s stuffing to that and you have meal that can’t be beat! I started making roasted chickens after receiving my first Barefoot Contessa cookbook which featured the most amazing chicken recipe that I have ever tried. It is the very best! It is one of those things that you can count on being amazing every time and you don’t have to question it.

For the brilliant Mrs. Garten’s Roasted Chicken recipe please click here.

I like to make it with carrots, celery, sweet or yukon gold potatoes, and sweet yellow onions. This time I decided to cook bone in chicken breasts rather than a whole chicken so that it would be done a little quicker and make a little less food since it was only for my husband and I.

IMG_2244
My Nana’s stuffing is something I grew up eating and loving. It’s so simple and so delicious! I converted my husbands non-stuffing eating family to stuffing lovers with this recipe. It’s great for holidays or anytime you want a comforting meal.

Nana’s Stuffing
1 cup celery finely chopped
1/2 cup yellow or sweet onion chopped
1/2 cup butter, melted
1 teaspoon poultry seasoning
1/2 teaspoon salt
1/8 teaspoon black pepper
8 cups 1 inch cubed bread (sourdough or Italian bread)
3/4-1 cup chicken broth

Directions
Preheat oven to 350 degrees
Heat butter in sauce pan over medium heat, sauté celery and onion until translucent. Add poultry seasoning, salt & pepper. Put bread cubes in a large bowl, pour butter mixture over it & combine. Add broth to mixture and combine till moistened. Spray or butter a dish to avoid sticking and place the bread mixture in, dab butter on top. Bake for approximately 30-45 minutes or until golden brown.
*For holidays you may want to double the recipe.

20130910-174709.jpg

20130910-174727.jpg

20130910-174740.jpg

20130910-174753.jpg

20130910-180414.jpg

20130910-180456.jpg
It’s so delish! I hope you love it as much as we do!

Quick pasta bake

6 May

I happen to love lasagna and lasagna soup too (OMG Bobby Deen’s recipe is to die for). But traditional lasagna takes a long time to make and frankly boiling the noodles and not having them break, making sure the filling is solidified, cooked thoroughly, and that it ‘stands up’ rather than sliding into a sloppy mess on your plate- without overcooking the dish and making the cheese rubbery can be difficult. I could use ‘oven ready’ noodles but there is just something about the  texture that I am not a fan of. I try to make a home cooked meal most nights and that sometimes means starting dinner around 6:45 pm after commuting, picking up my daughter, errands, getting Madeline settled, straightening up the house, etc so when I want the lasagna feel but don’t want to waste my time with all the difficulties associated with making it and I don’t have a lot of time, I do this. Here are my short cuts:

First I boiled about half a pound of penne pasta, cutting the time about a minute short of the cooking instructions. I took my “Everything Veggie Pasta Sauce” (https://amyblandes.wordpress.com/2013/03/25/everything-veggie-pasta-sauce/) and spread it over the bottom of a medium size Pyrex baking dish, then I dumped about half my strained pasta and spread that out. Then I simply took spoonfuls of ricotta cheese and spread them (as well as I could, plain ricotta is a little hard to spread) took a little more sauce and spread it over those and then added the rest of the pasta, sauce and then covered the top with shredded mozzarella cheese. I covered it with foil and baked for 15 minutes and it was perfect. All the things I love about lasagna but made so much easier! It had the creaminess of the ricotta without having to wait for it to cook through as there was no egg added, the melty gooey mozzarella cheese. It was totally easy and quick! This can work with alfredo sauce, a butternut sage sauces, or even pesto. *This made more than one meal so I saved it and we reheated it covered with foil at 360 degrees for about 20 minutes and it was still very tasty two nights later.

20130507-141722.jpg

20130507-141753.jpg

20130507-141815.jpg

20130507-141837.jpg

20130507-141903.jpg

Black Bean Enchilada Stack

30 Apr

Black Bean Enchilada Stack

I love Mexican food, I have it probably 5 to 6 times a week between burritos, tacos, tortilla soup, huevos rancheros, etc. Since I began the Veg Project with my friend Steph, I have been working on changing some of my previously meat centric foods into a healthier vegetarian options. They are always amazing and totally delish. I used to make this enchilada stack with chicken but I think it’s even more tasty as a black bean veggie enchilada stack.

20130426-224344.jpg

20130426-224432.jpg

20130426-224520.jpg

20130426-224606.jpg

20130426-224645.jpg

20130426-224735.jpg

20130426-224821.jpg

Black Bean Enchilada Stack


1 tablespoon vegetable oil

1 red bell pepper chopped

1 green bell pepper chopped

1/2 yellow onion chopped

1 zucchini chopped

1/2 teaspoon garlic powder

1 teaspoon chili powder

1 1/2 teaspoon cumin

1 cup cooked brown rice

1 15 oz can black beans

1/2 cup frozen corn kernels

1/2 can enchilada sauce (heat level to your preference)

corn tortillas

1-2 cups cheddar cheese shredded

garnishes:

chopped onion

cilantro

diced avocado

sour cream


Heat vegetable oil over medium heat, add chopped onion, bell peppers, and zucchini with garlic powder, cumin, & chili powder and saute till tender (not browned) about 4-5 minutes, add in black beans, frozen corn kernels and  brown rice and heat until warmed through about 5-7 minutes. Remove from heat once all warmed through.

In a baking dish spoon enchilada sauce onto the bottom of the dish just to cover, dip corn tortillas in sauce and then flip them over so that both sides will have sauce on them, place them in the bottom of the dish so that they cover the bottom (may be overlapping). Spoon veggie/rice/bean mixture onto tortillas and cover evenly, add cheddar cheese to cover layer. Add another layer of sauce (may want to use the back of the spoon to spread the sauce over the tortillas and then add mixture, cheese, and sauce, (now for me this was to the top of my dish- it may not be for you, you can make as many layers as will successfully fit in your baking dish), then I added my last layer of tortillas and sauce and covered the top with a nice layer of cheddar cheese. Cover the baking dish with foil and bake in oven for approximately 20 minutes until cheese is melted and bubbly. Serve with garnishes listed above. Enjoy!

Gallery

Veg Project: Date Night In

2 Apr

IMG_1221

A lot of things change when you become a parent, this is not a surprise. There is more Mickey Mouse Clubhouse and less God Father marathons, more juice and less cocktails, more diapers and a lot less sleep! One thing that we have been really good about is making sure that we are still going out for date nights and my in-laws definitely help make that happen with their willingness to babysit.  But even when we can’t get out for the night I like to try and make a special effort when I can to not only make a healthy homemade meal for my husband and I, but also make a fancy dinner date. I was lucky enough to have the day off due to Good Friday so I could go grocery shopping and spend time with my daughter and I also had time to plan out a sexy dinner date for my hubby and myself.

What’s for dinner? Spinach and mushroom quiche, a mixed green salad with heirloom tomatoes and homemade balsamic vinaigrette, ricotta and honey on a sourdough baguette with strawberries and white wine. I was inspired after watching an episode of Kelsey’s Essentials on the Cooking Channel, in which she made a similar menu. I have never actually made a quiche before and only had a couple quiche ‘bites’ appetizers over the years and I wasn’t a big fan. But since I started the Veg Project (see: https://amyblandes.wordpress.com/2013/03/22/the-veg-project/) I have made an effort to try some more things that I normally would not have been interested, plus I love being adventurous in the kitchen. I started the menu for Friday with the quiche planned, but then I thought I wanted something to balance out the creamy quiche, so I thought tangy salad dressing, I wanted it to feel like a picnic so I went with the baguette that Kelsey Nixon used in her episode and although I thought my husband (a man who only really likes cheddar cheese) would not be into the ricotta I got it just to try. It was amazing! The quiche was creamy, fluffy, and so full of delicious flavor. Really, the whole menu, the strawberries balanced the baguette with ricotta and honey drizzle, the salad and dressing balanced the creamy cheesy quiche and the wine complimented it all. It was all light, flavorful, and scrumptious!

IMG_1201

IMG_1209

IMG_1212

IMG_1216

I adapted a recipe from Kelsey Nixon for the following (for her recipe please see: http://www.cookingchanneltv.com/recipes/kelsey-nixon/ham-leek-and-gruyere-quiche.html)

Ingredients:

2 tablespoons butter

1 package baby spinach chopped

10 crimini mushrooms washed & thinly sliced

1 clove crushed garlic

5 eggs

1 cup whole cream

1 tablespoon corn startch (Kelsey Nixon’s tip- it really works!)

¼ tablespoon Kosher salt

½ tablespon ground black pepper

Dash nutmeg

½ cup finely shredded havarti cheese

½ cup finely shredded gruyere

1 frozen pie shell baked according to package instructions

After the pie shell has been baked, preheat oven to 375 degress. Heat butter in a skillet over medium heat, once melted add in mushrooms, saute for approximately 2 minutes coating mushrooms in butter.  Add in spinach and garlic until spinach is wilted and cooked through, remove from heat and set aside to cool. In a large bowl, whisk eggs, cream, cornstarch, salt, pepper, and nutmeg until blended well. Spread vegetable mixture over the bottom of the cooked pie crust, sprinkle cheese evenly over the vegetables, then carefully pour custard mixture over it. Place in the over on a foil lined large sheet tray (in case of messes). Bake until center is set and crust is golden brown, 40 to 45 minutes. Let cool on wire rack, serve at room temperature.

IMG_1223

For the salad I simply added a mixed greens with halved miniature heirloom tomatoes, sprinkled salt & pepper, and drizzled a homemade vinaigrette over it:

Balsamic Vinaigrette:

3/4 cup olive oil

1/4 cup balsamic vinegar

1 clove crushed garlic

1 teaspoon brown sugar

Salt & pepper to taste

I like to put it in a mason jar with a lid and shake well.

IMG_1217

Image

Veggie Chili Goodness

1 Apr

Veggie Chili Goodness

I love chili, I love the warm, cozy feeling it gives you. I also love that it’s super easy and my recipe is relatively fast from start to finish. I love it all alone, over pasta, over rice, over a baked potato, with chips, etc. I pretty much just love it. Before the Veg Project I also would add in a pound of ground turkey that I browned with a little olive oil and then added the rest of the ingredients per the directions below. I have adapted an old recipe that my mom used to make when I was growing up, it’s got a lot more kick than mom’s and some move veggies as well (just the way I like it!).

IMG_1177

IMG_1180IMG_1181IMG_1182IMG_1186IMG_1189

Veggie Chili

Ingredients:

1 tablespoon olive oil

½ yellow onion chopped

1 red bell pepper chopped

1 green bell pepper chopped

1 15 oz. can chili beans

1 15 oz. can black beans

1 15 oz. can great north beans (drained and rinsed)

1-1/2 teaspoon cumin powder

½ teaspoon garlic powder

1 teaspoon chili powder

1 teaspoon kosher salt

½ tablespoon ground black pepper

2 cloves crushed garlic

Toppings:

Chopped cilantro

Sour cream

Shredded cheddar cheese

Tortilla chips/strips

Chopped red onion

Instructions:

Heat 1 tablespoon olive oil in a large skillet over medium heat. Add in chopped onions and bell peppers, sauté over till vegetables are tender (not browned) about 4-5 minutes. Stir in chili beans (with liquid), black beans (with liquid), great north beans (drained and rinsed), add in chili powder, garlic powder, and cumin, crushed garlic, salt and pepper. Turn heat down to simmer, allow flavors to develop for about 15 minutes and then add frozen corn. Continue cooking for about 10 minutes till corn is fully cooked through. Serve hot with any of listed toppings above. (I like it with cheddar, cilantro, sour cream, & chips!)